

Tĥis is the pcb from a G&M Secutest. It was not working like it should. The problem turned out to be some vaporized traces inside the 4 layer pcb, a LM358 with ventholes, a dead 555 from the boost converter, a dead TL082, a burned inductor, a blown fuse and 4 bad relais.
The the pcb above the LCD pcb turned out bad too. A short between the negative rail and ground. This was harder to find because it was not visible. I found it using my fluxgate based i-prober currentprobe. Repairing was easy, I milled a way a part of the top gnd layer, then the burned out part to remove the short and then filled all up. The new trace is now for safety reasons above the pcb.
Here some more info about the PSU PCB repair. First step was “opening” the pcb so I could inspect the inner-layer and remove the burned residu (that is conductive and can cause leakage current. Not something you want in this type of instrument.)
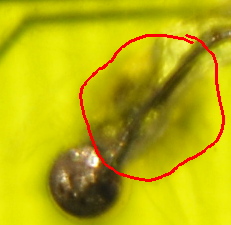
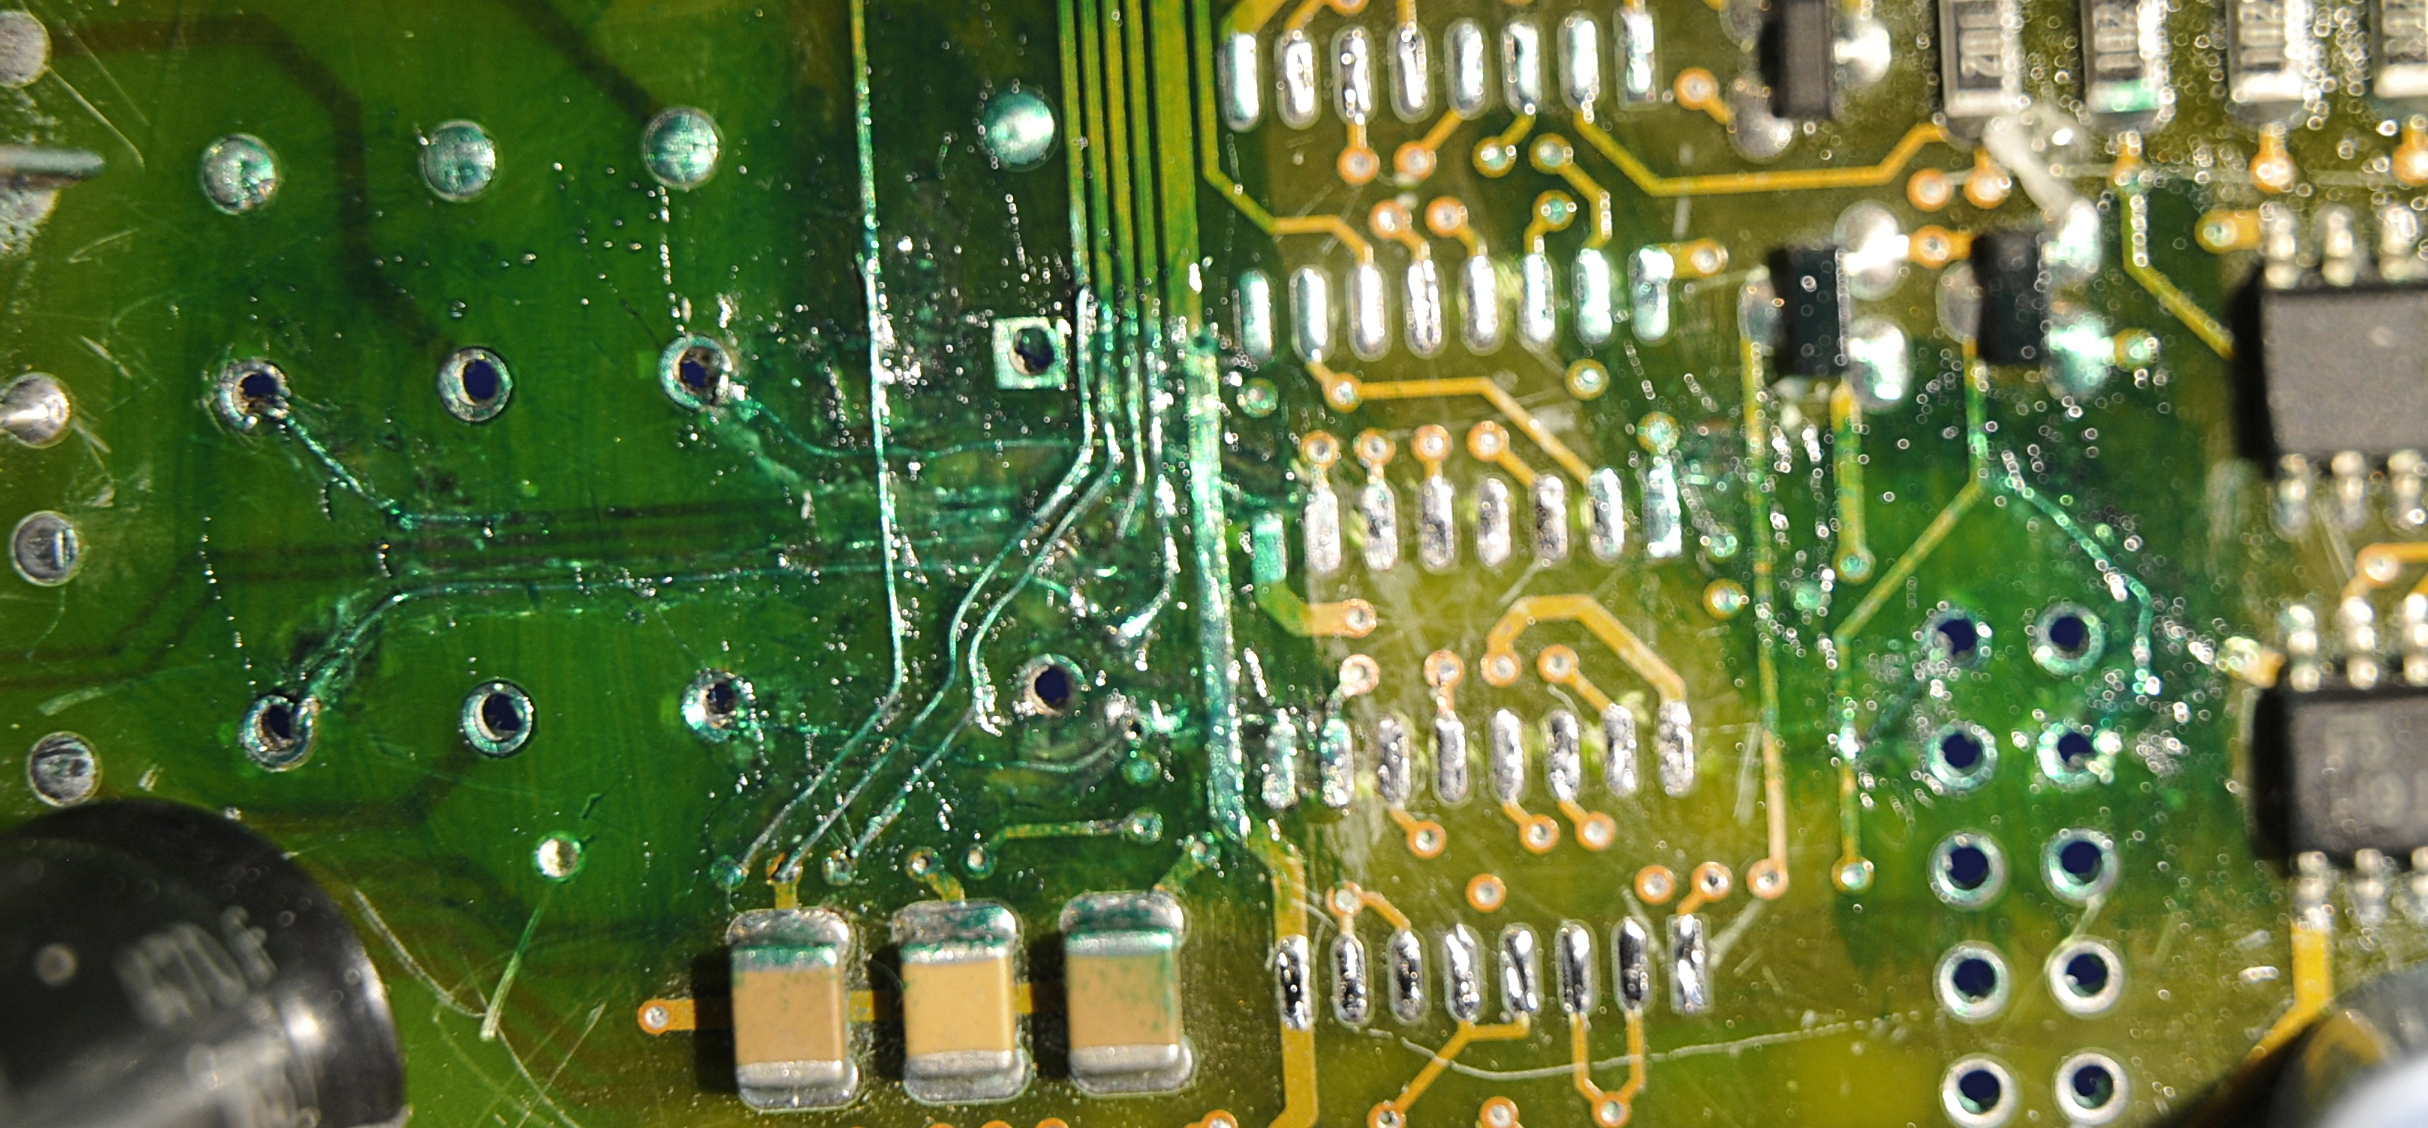
Here you see a part of the problem. This was not the worst one but I could not made that visible on a picture because there was a groundplane that blocked the view. You see the black “fog” around the trace. This is inside the pcb photographed with a lamp behind the pcb. The traces go to the pins of a relay. 4 traces were burned/vaporized on several places, bizar !
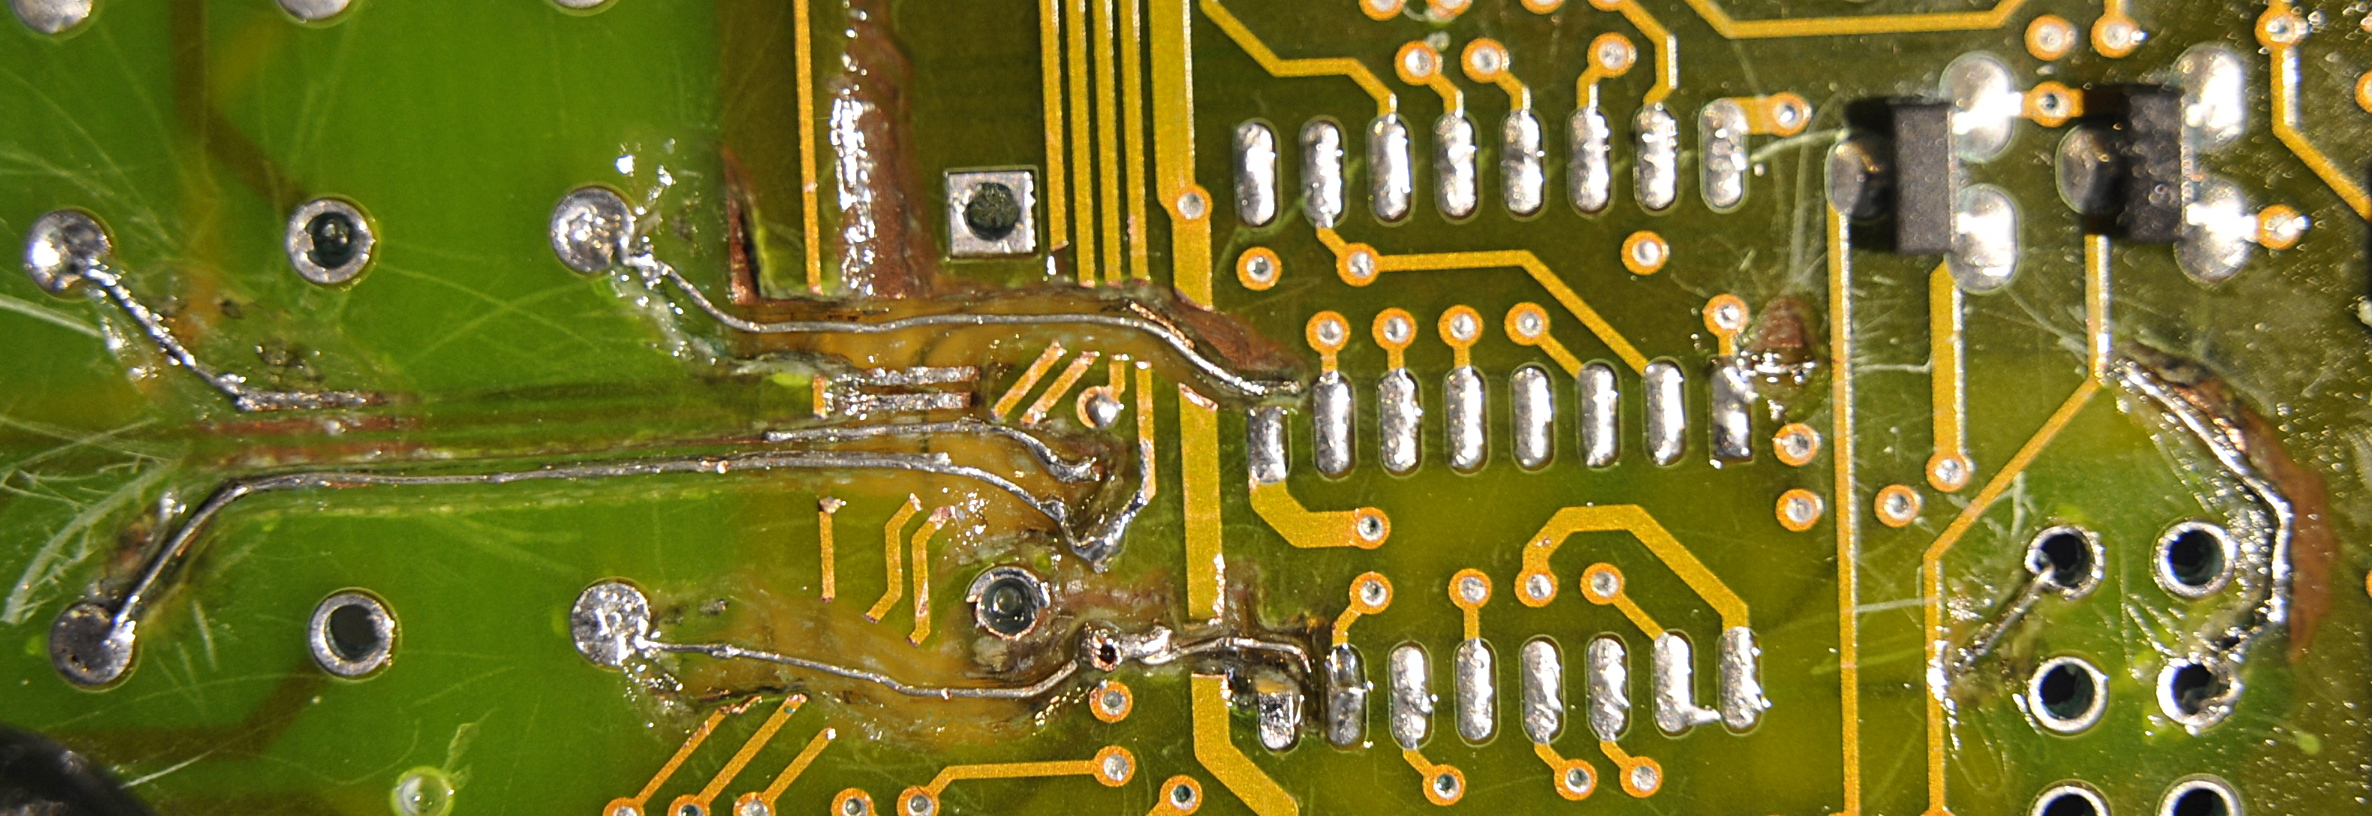
I milled and scraped “channels” so I could remove the burned stuff and layout new traces. I used 0,2mm wire for this. Look at the size of those sot23 transistors to see the scale of things. All this is done under a microscope. I use excavators and mini scrapers that I made myself. It is not difficult but rather time consuming and you need a steady hand and some mechanical experience. I have done a lot of mechanical things for many years, small scale like building scale models (cars, bikes, ships, trains and a small steam engine) but also restored (and complete rebuild) real bikes and cars.
Normally to much work for an old Secutest, but I just love doing this sort of things so now and then as extra practice.
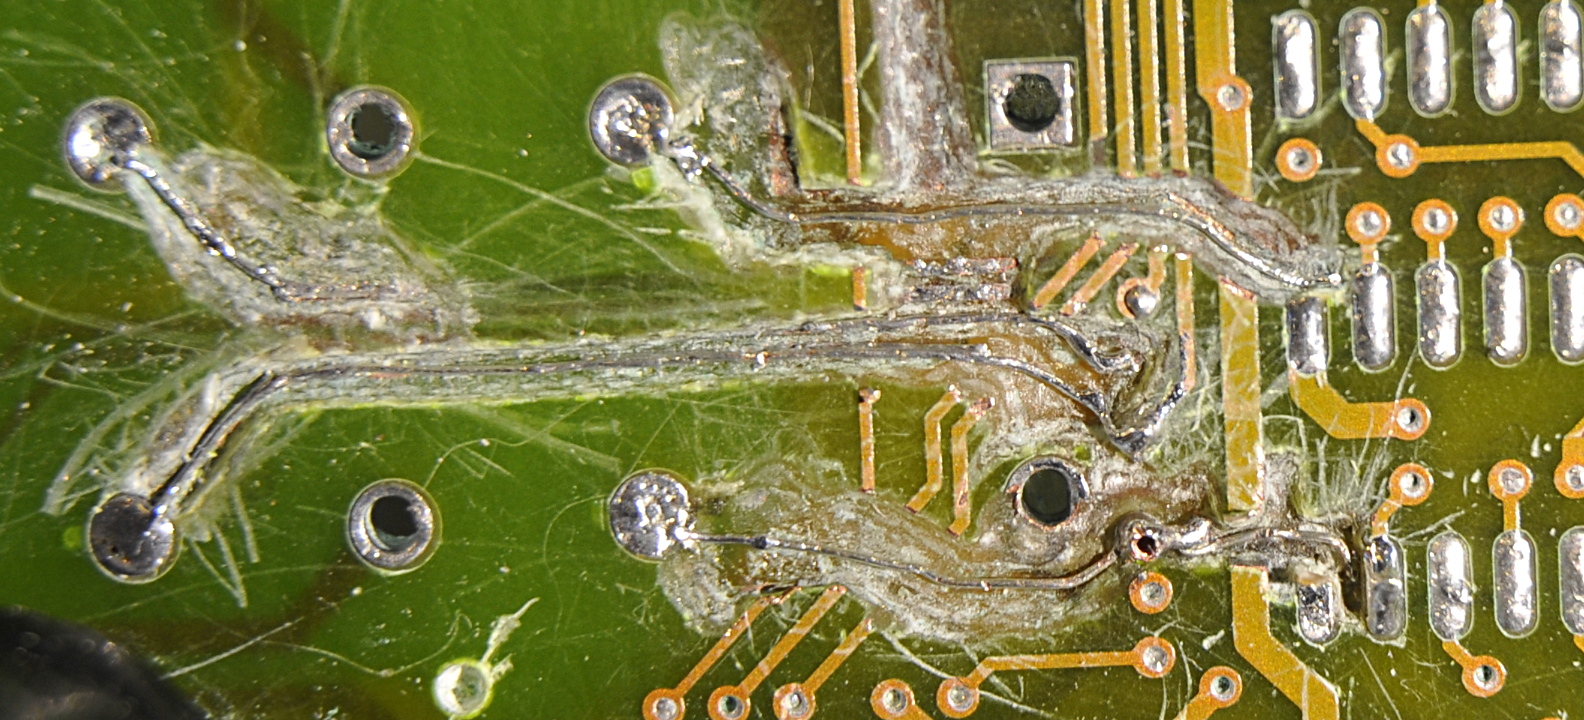
I had to remove some of the top traces.
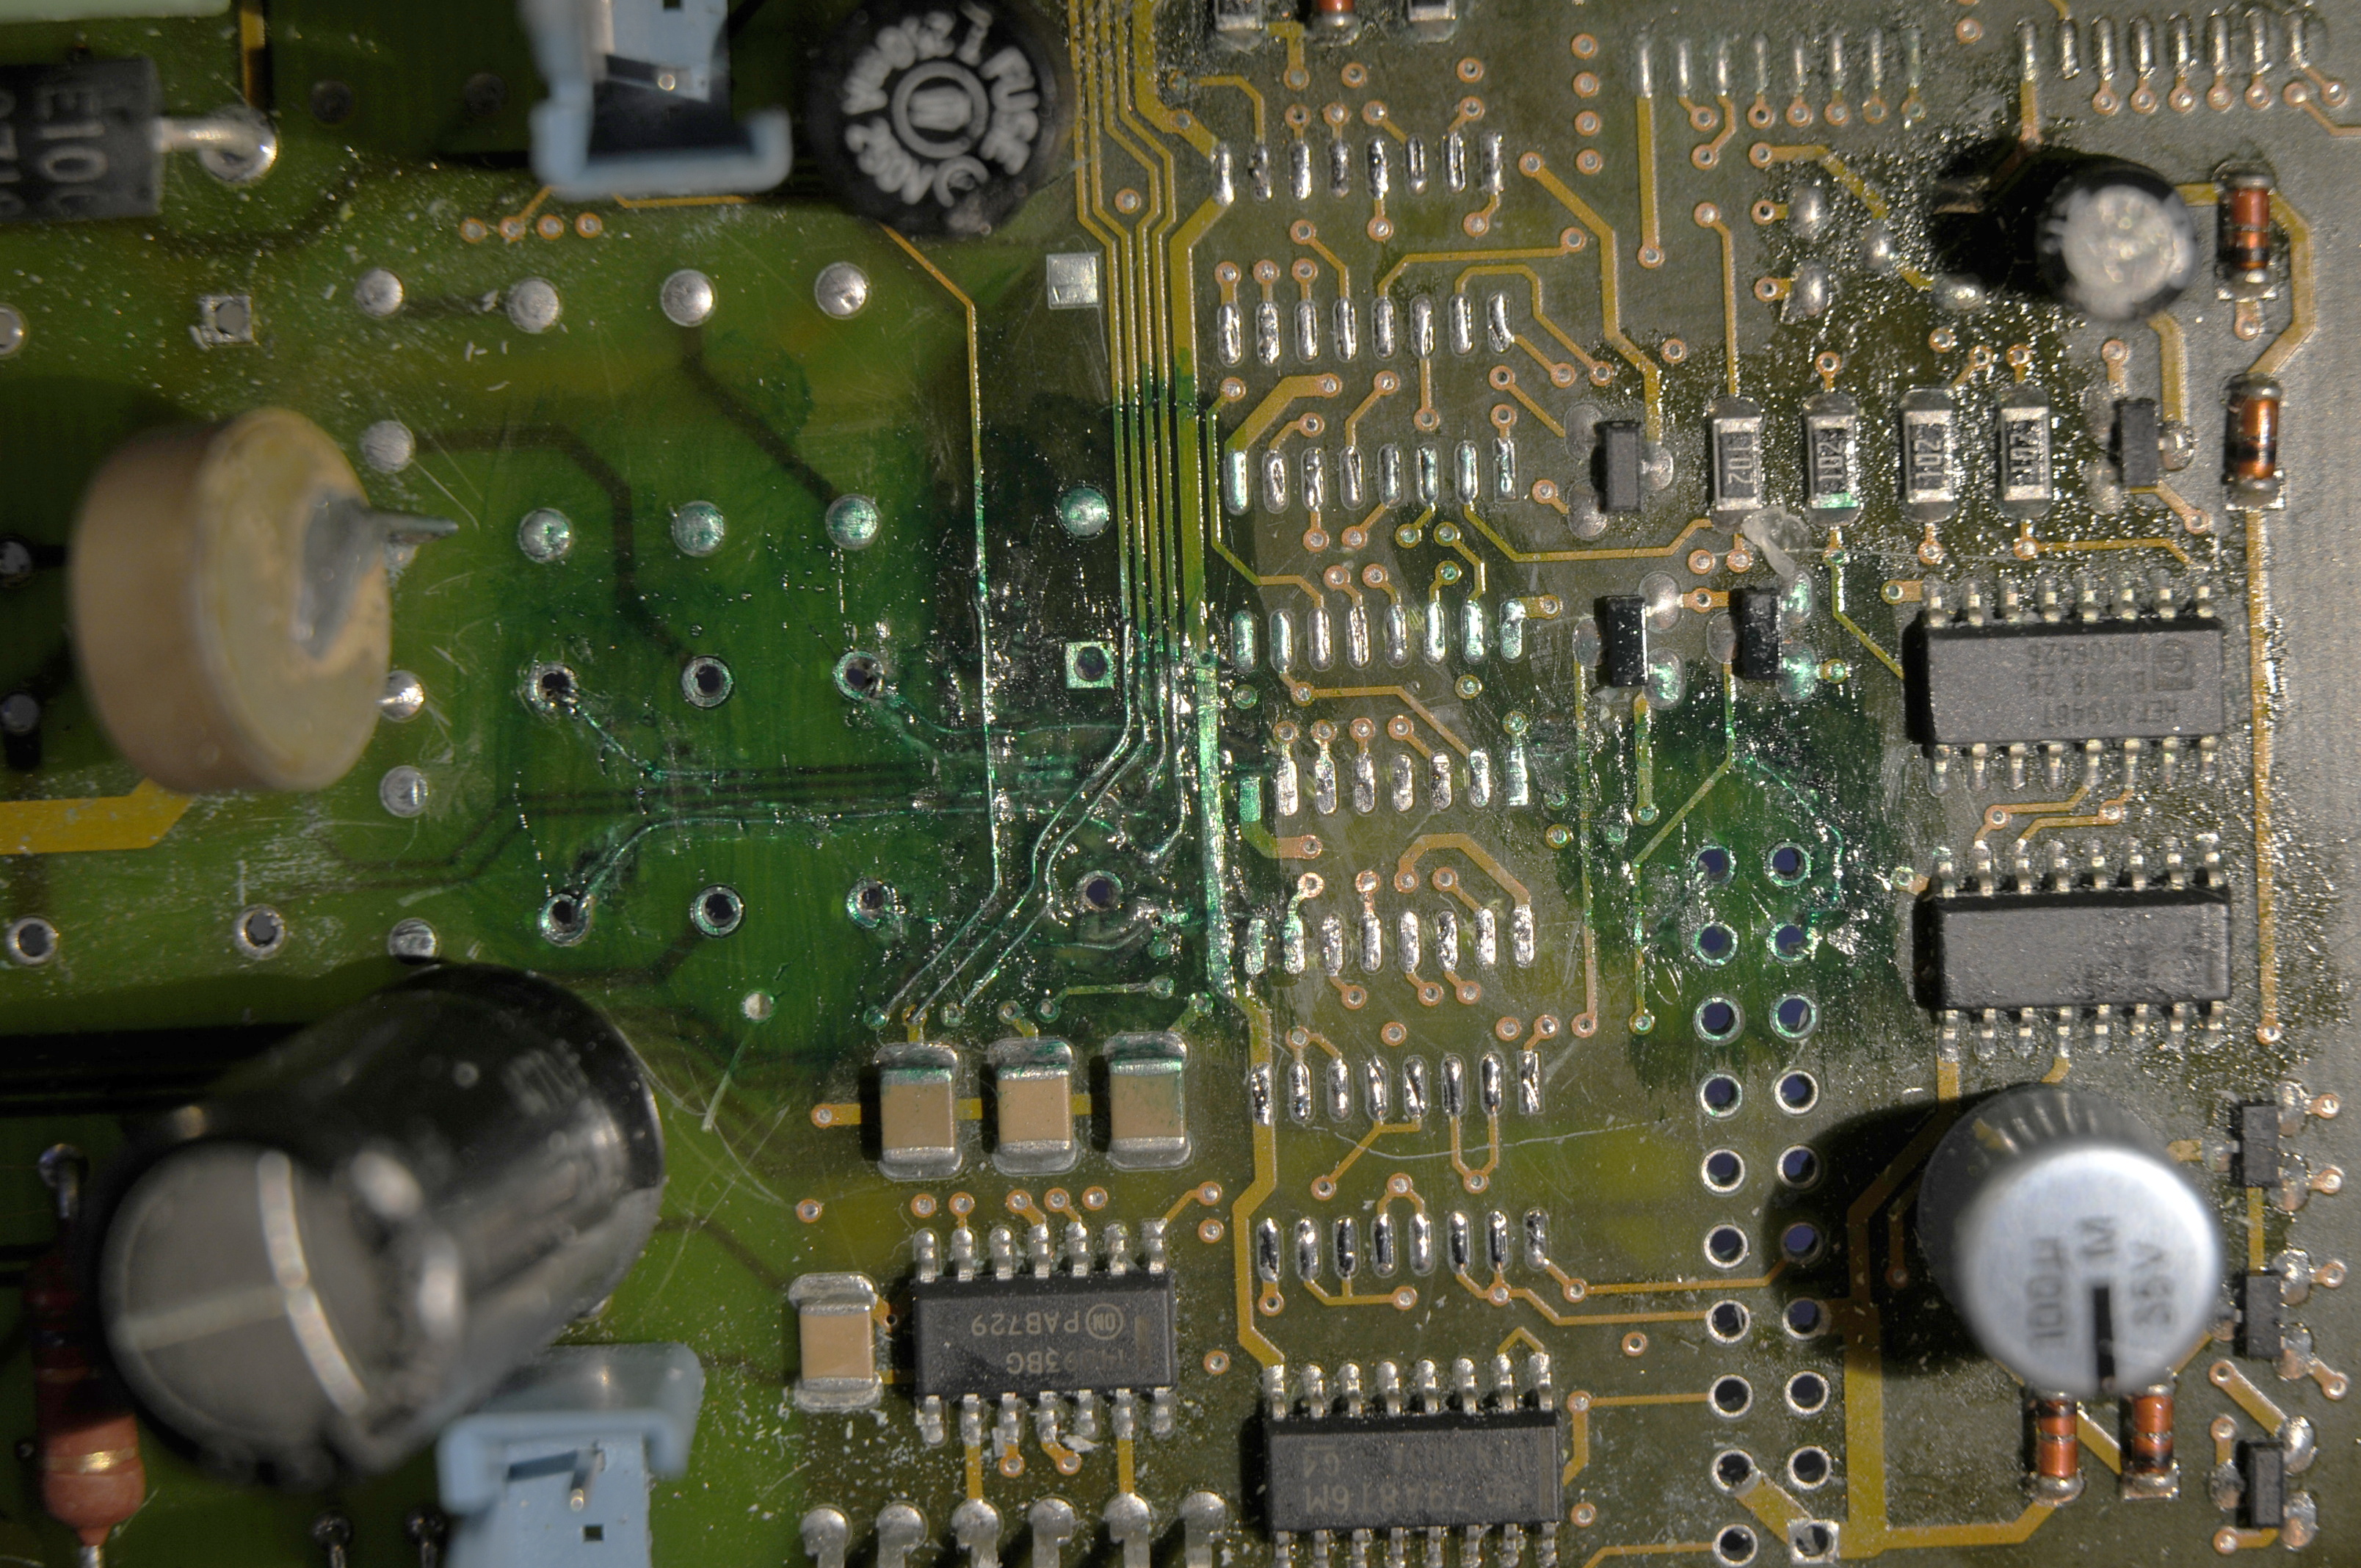
It looks a bit messy because I covered the new toptraces with epoxy.
And after testing all connections the parts are tested and placed.
